
LearnDash is very popular. It is also versatile. It is used to create and sell courses. Since it started, LearnDash has focused on giving features to course creators. So, it offers a few default options to sell courses. However, it does offer integrations to multiple eCommerce platforms one of which as we know the most widely available option is – WooCommerce.
LearnDash WooCommerce integration allows you to leverage WooCommerce’s robust eCommerce capabilities to enhance your course selling experience. WooCommerce is a highly popular option that works perfectly with LearnDash and is also highly recommended by LearnDash. The key advantages of using WooCommerce are that it offers a wide variety of payment gateway integrations which LearnDash doesn’t offer by default, gives you detailed sales reports, and most importantly it gives access and integration to a plethora of WooCommerce add-ons that you can use along with LearnDash. Moreover, you can also work together with a WooCommerce website developer to develop a new plugin or to customize an existing plugin.
Once you have set up your courses on LearnDash, you can proceed to set up WooCommerce. You need to install WooCommerce plugin first and along with that you need to install WooCommerce integration for LearnDash. Now after installing both plugins we are all set to integrate LearnDash with WooCommerce.
To sell your online course, you need to understand how WooCommerce and LearnDash integrate. Let me explain briefly how they work together. So, basically after creating LearnDash courses, you need a WooCommerce product listing associated with each course that you wish to sell. The purpose of this associated WooCommerce product listing is to accept payment for the linked course and after successful payment enroll the student for the linked course.
#1 Installing WooCommerce
So, let’s first install WooCommerce. After downloading please install it by going to Dashboard > Plugins and click on ‘Add New’ button and upload it. When you install it, their installer helps you set up basic things for you.

Screenshot 1: Plugin Installation
#2 Installing WooCommerce Integration Extension for LearnDash
After you install WooCommerce you can then install the WooCommerce LearnDash Integration plugin. If you have purchased LearnDash, go to LearnDash site > My Account > Downloads. After downloading, please install it. Go to Dashboard > Plugins and click on ‘Add New’ button. Then, upload it.
You can find plugin under https://www.learndash.com/extensions/
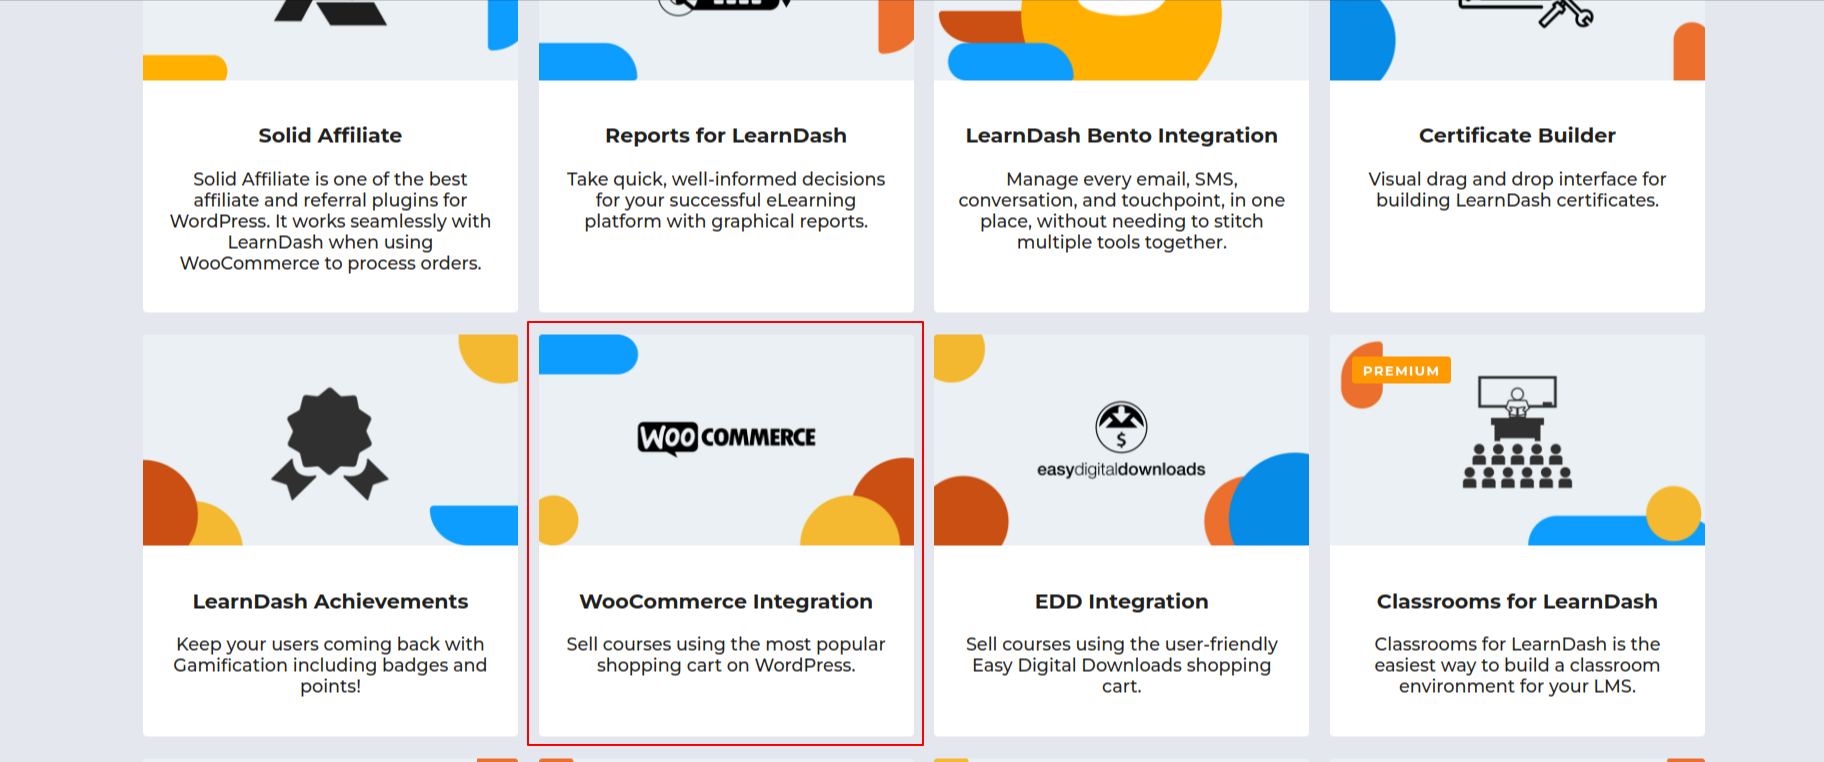
Screenshot 2: WooCommerce Integration download
Need Technical Assistance to setup LearnDash ?
Get a LMS Setup Done with our LearnDash Experts!
Explore our LearnDash Services#3 Creating Products in WooCommerce & linking them with LearnDash courses
After installing both plugins, the LearnDash WooCommerce integration comes into play, making it easy to sell your courses. To create products in WooCommerce for each of your courses, go to the ‘Products’ menu in your dashboard and select ‘Create Product.‘ Enter the product name (course name), product price—the desired price at which you wish to sell the course—and optionally choose a featured image for your product. The key step is selecting the LearnDash course you want to sell using this WooCommerce product from the multiple select field, as shown in the screenshot below.
if you find it confusing to make a decision, try consulting a WooCommerce development company.
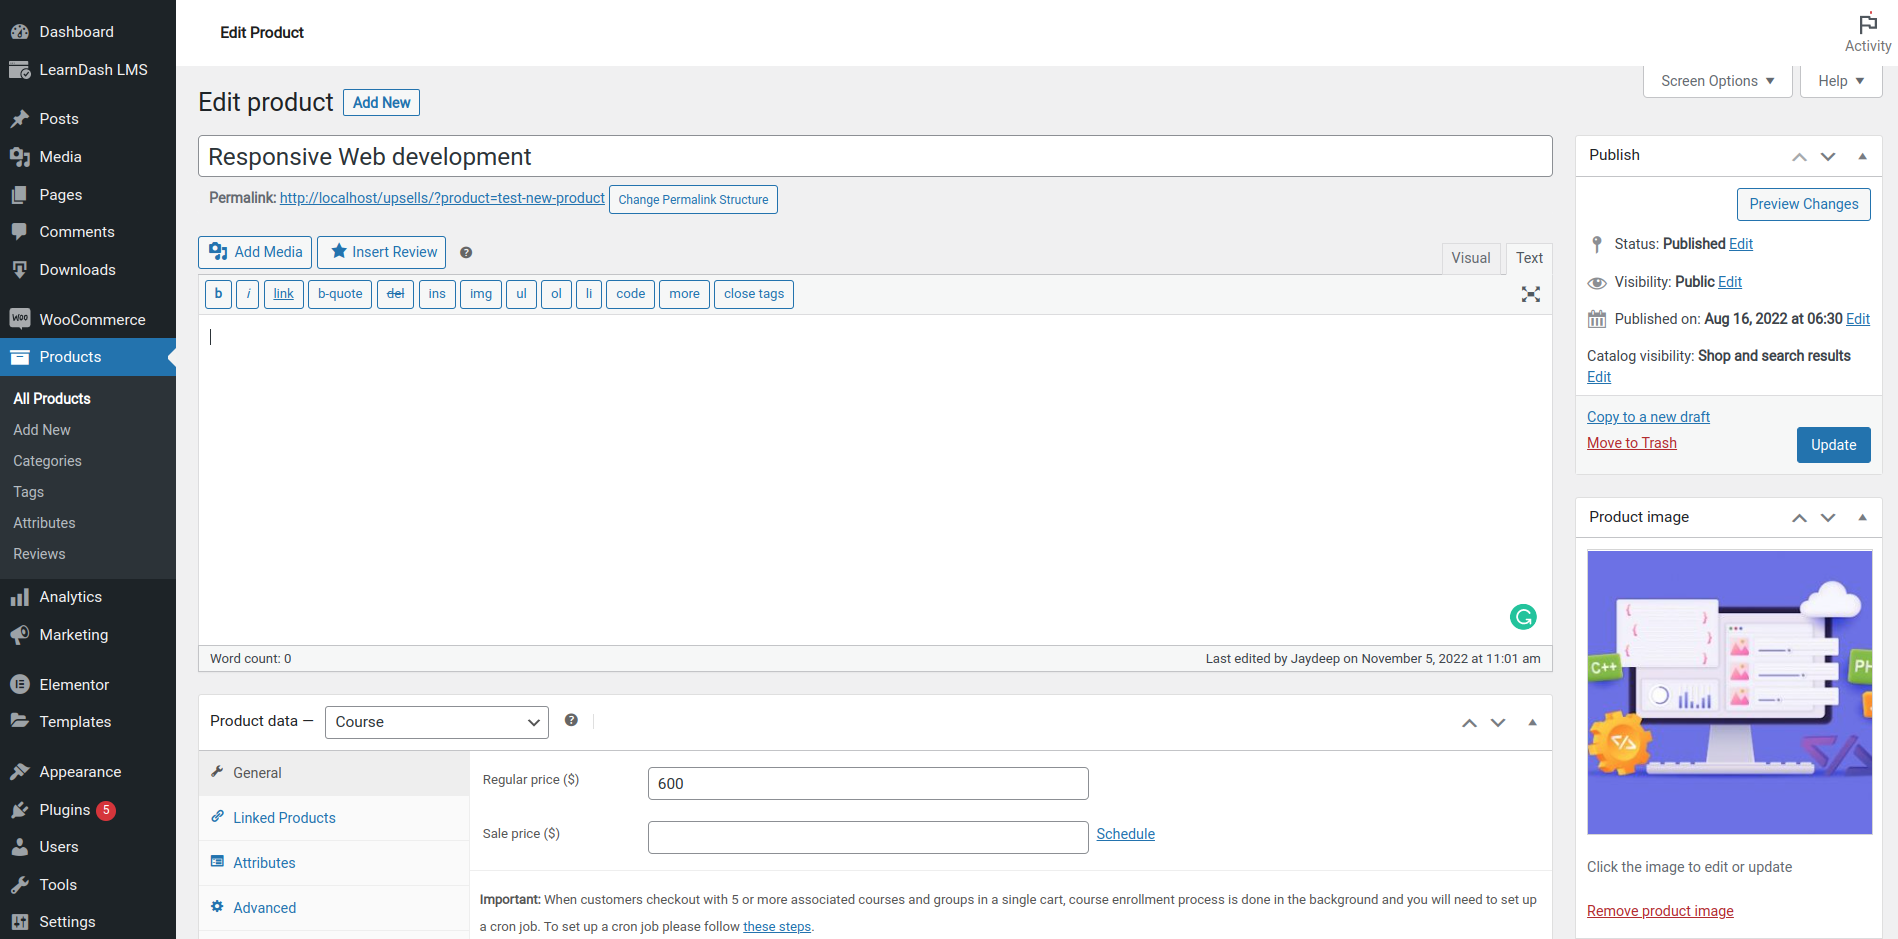
screenshot 3: WooCommerce product page backend
Usually, we associate one WooCommerce product with one LearnDash course. However if you wish to sell multiple courses using a single WooCommerce product then you can choose multiple courses that you wish to sell and add a price accordingly.
Once you’ve linked the course, click ‘Publish,’ and congratulations—you’ve successfully linked a LearnDash course with a WooCommerce product. Thanks to the LearnDash WooCommerce integration, your product is now ready to accept payments!
Now similarly, you will have to create WooCommerce products and associate them with their corresponding LearnDash courses. After finishing, set up payment options in WooCommerce. Just go to WooCommerce, then click on Settings, and finally, on the Payments Tab.
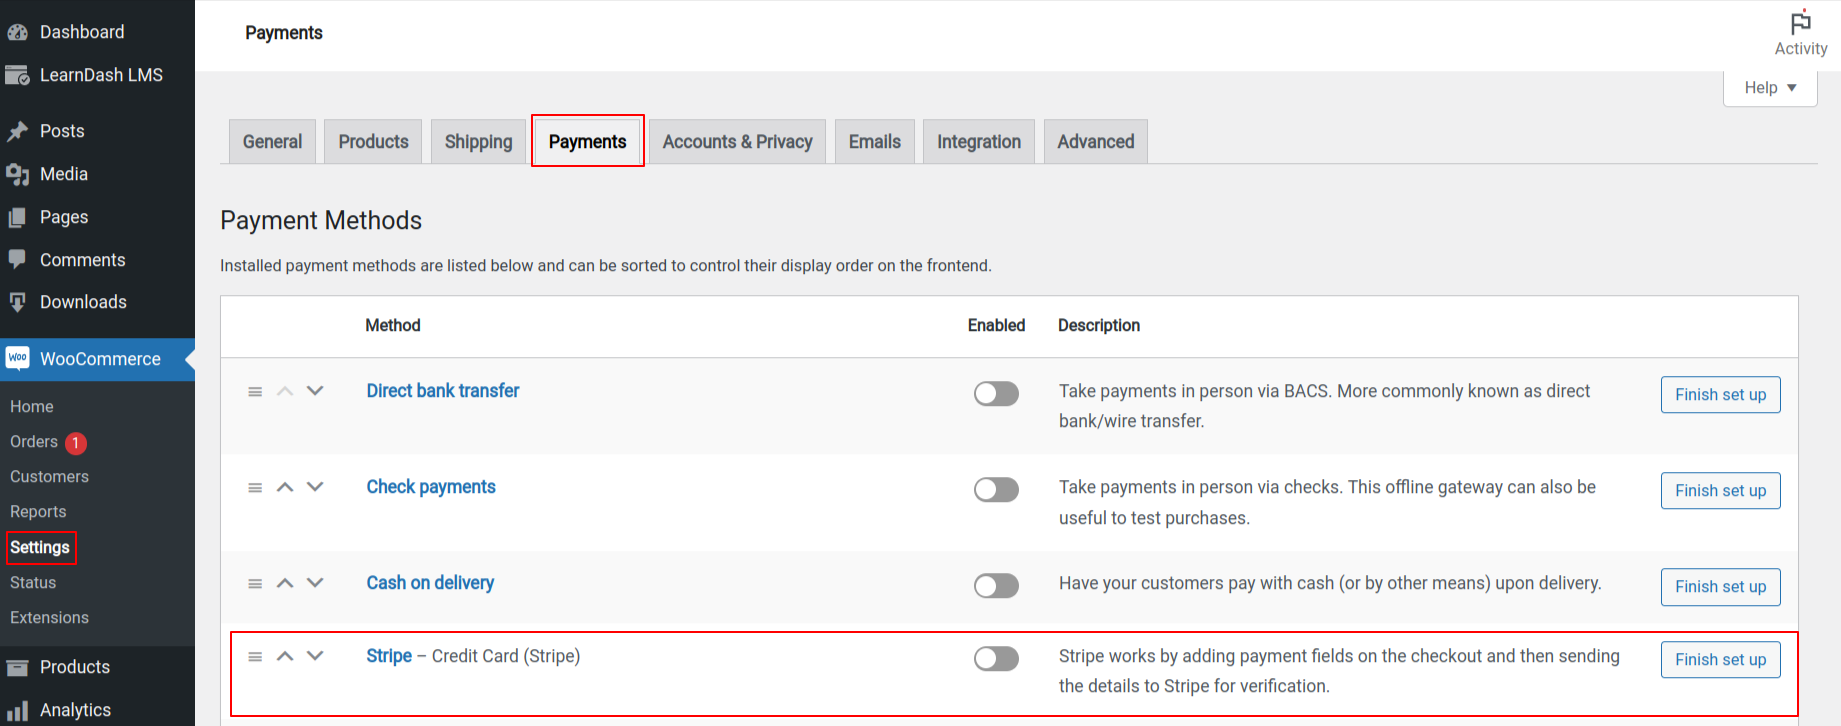
Screenshot 4: WooCommerce Payments tab
#4 Setting up Payment Options
By default, WooCommerce provides standard payment options like PayPal and Stripe. (If you require another payment gateway provider, you can usually find their WooCommerce integration in the WordPress repository or request it from your Payment Gateway provider. Once installed, it will appear in the Payment Tab.) For this blog’s purposes, we’ll assume you’re using Stripe, so simply enter all the necessary credentials and click Save. Hurray! With LearnDash WooCommerce integration, we’ve now completed the payment setup and are ready to sell our LearnDash courses and accept payments for our courses.
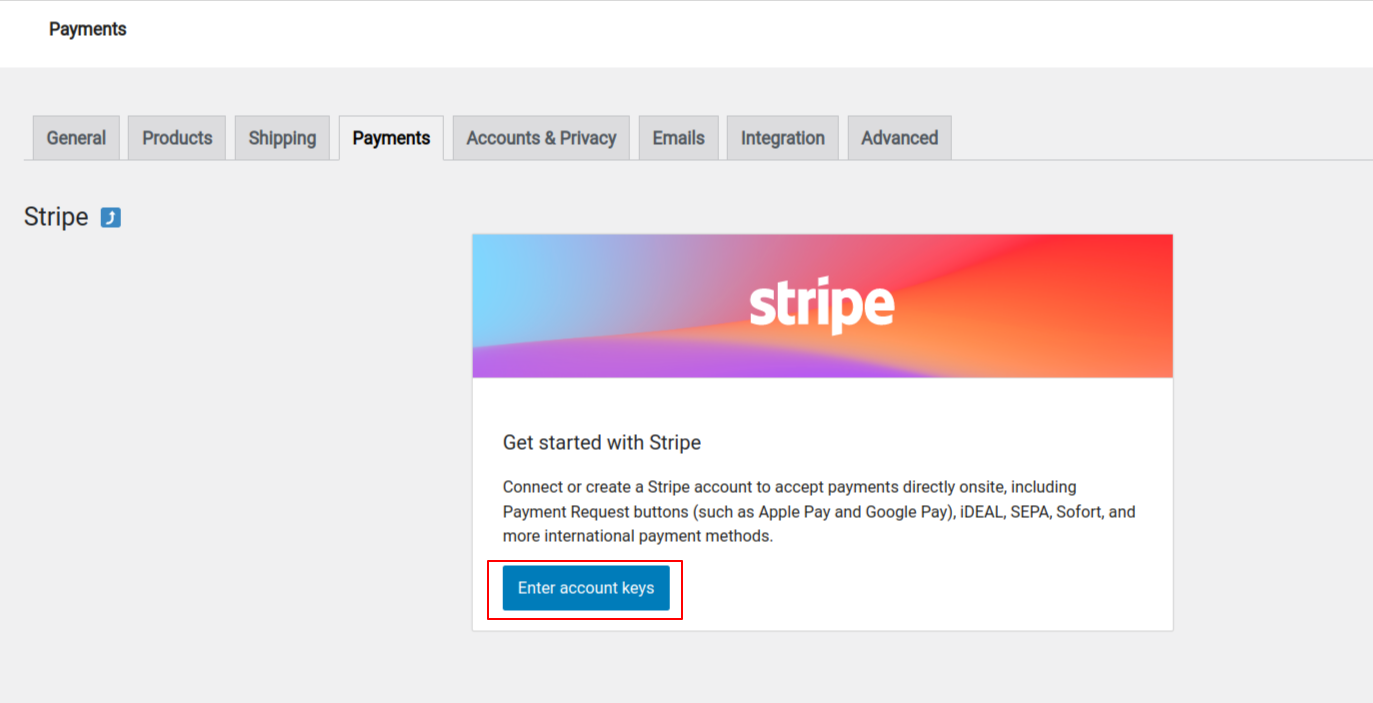
Screenshot 5: WooCommerce Stripe payment initial setup
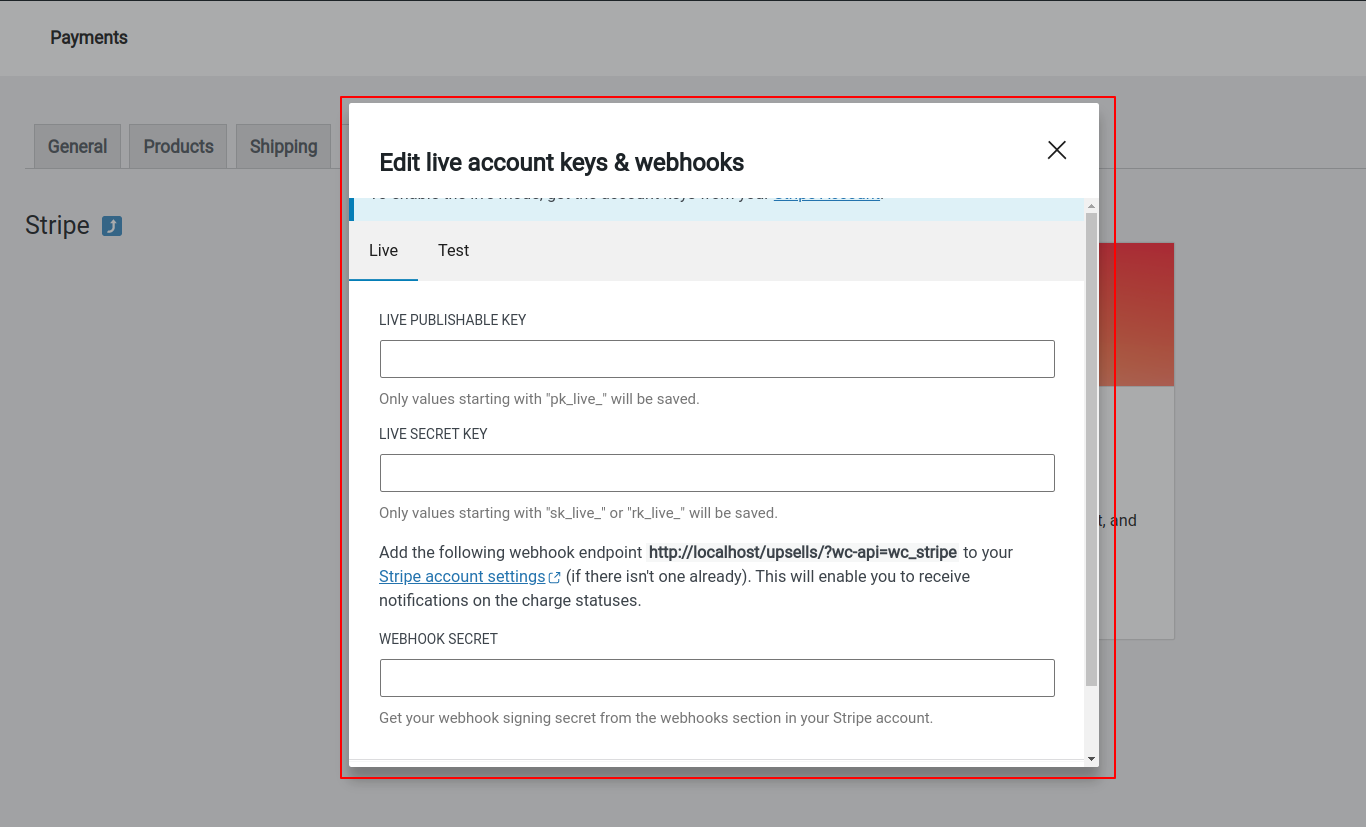
Screenshot 6: WooCommerce Stripe payment gateway
To see if it actually works, you need to buy the course and check if everything runs smoothly. (For testing purposes, you can create a dummy course priced at $1 and test it with real payments, or if you don’t want to make live payments, you can use ‘Test Mode’ on Stripe). Now, navigate to your course listing, click on ‘Buy Now,’ and it should successfully redirect to the WooCommerce product page. Once you click on ‘Add to Cart,’ it redirects to the Cart Page > Checkout Page > Payment Gateway, and on successful payment, to the Thank You page. If you now visit the Course page, you will see that you have been successfully enrolled for the course. Voila! You can seamlessly access the course content using the WooCommerce LearnDash integration.
By using WooCommerce to sell your courses, you provide your customers with a smooth eCommerce experience, enhancing the overall process of enrolling and purchasing.
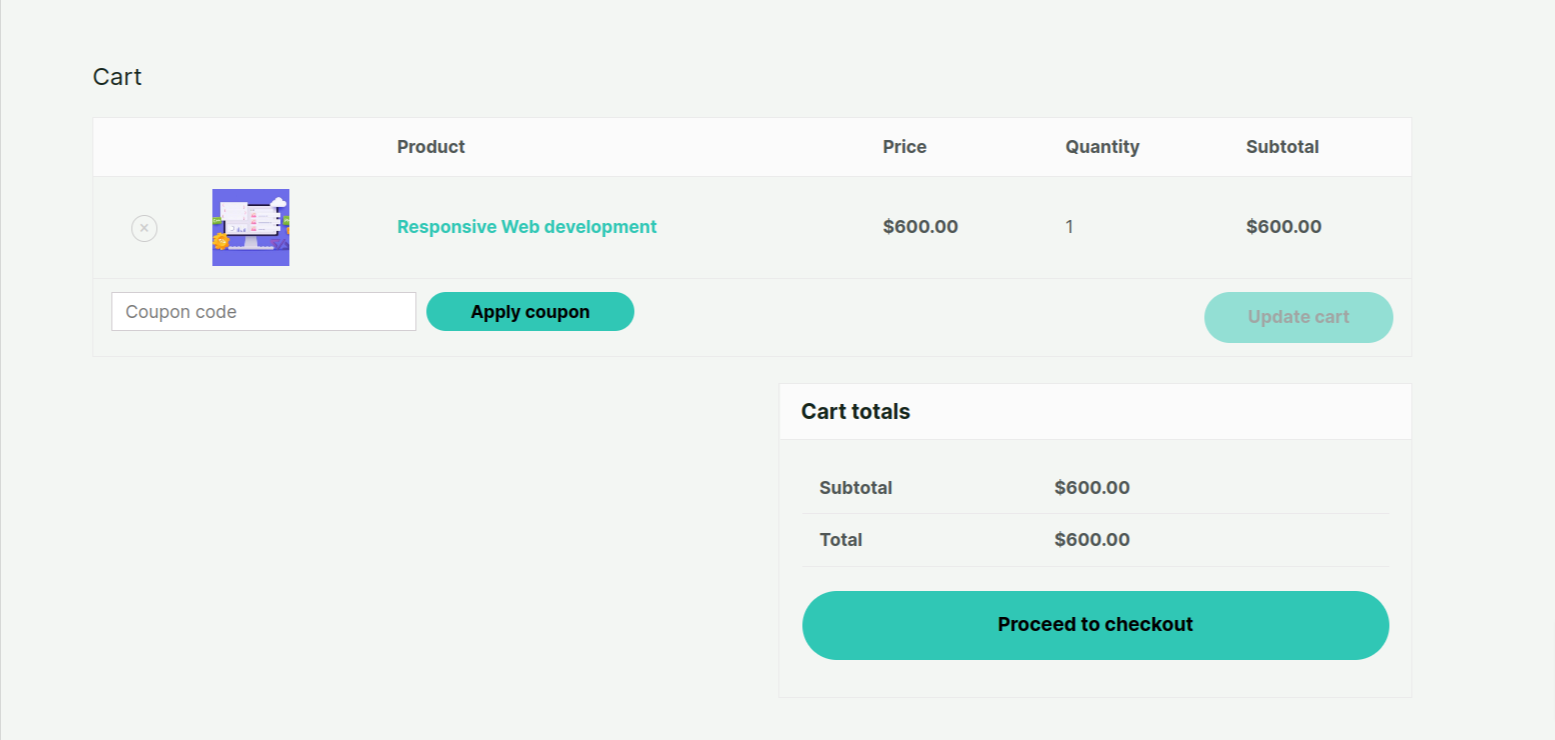
Screenshot 7: WooCommerce Cart Page
Pro-Tip
By default, the course selling workflow follows this sequence –
LearnDash Course Page > WooCommerce Product Page > Cart Page > Checkout Page.
You can optimize this workflow and reduce one step for your customer by removing WooCommerce Product page in this sequence. You can do so by installing a plugin like Cart Flow which gives you the option to redirect customers directly to Cart page (or Checkout page) and thus allows your customers to skip the redundant product page.
So, now the new workflow will look like –
LearnDash Course Page > Cart Page > Checkout Page.
This reduces one step for your customer and optimizes the overall checkout experience for your customers.
#5 Winding up
LearnDash integrates quite well with WooCommerce, allowing your customers to experience a complete eCommerce checkout process and offering a variety of payment options if you prefer not to stick with the standard options.
Once you’ve successfully completed the WooCommerce LearnDash setup, you can enhance your store by installing add-ons like UpSells for LearnDash and Frequently Bought Together for WooCommerce to further boost your ability to sell courses.
If you have questions or find it difficult to do this yourself, you can reach out to our LearnDash development services.