
As we drift in this tech space, eLearning plays a crucial role in the development of any Learner.
Speaking of eLearning, there are many LMSs that are in competition. To list a few- LearnDash, Tutor LMS, LifterLMS, Teachable, and Thinkific.
Among these LearnDash stands out as it not only provides some really good functionalities but is also affordable. Moreover, it offers a superb level of customizability.
In this blog, we will discuss the steps to install LearnDash in WordPress and also set it up. These steps will be easy and quick. I am hoping you will stick with us till the end.
Step 1- Setup LearnDash Pages
Assuming you have completed installing LearnDash on your WordPress site, we’ll begin with setting up LearnDash Pages.
Pages by default offer you only My Account Page. You can create your Pages for your LearnDash site.
But when you connect your LearnDash with WooCommerce, you can create a Cart page and Checkout page as well. These pages are quite important to sell your courses.
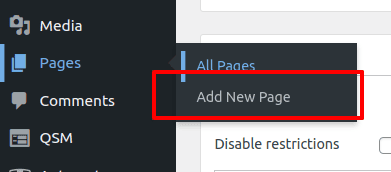
Once you have completed downloading the LearnDash plugin, go to WordPress dashboard -> Pages -> Add New Page.
SaffireTech’s Featured Articles
Step 2- Get the best theme for your LearnDash
Themes make sure your LearnDash site looks the best.
Not only looks but also performs well with its UI.
There are many LearnDash-compatible themes available in the market. Some of them are- Astra, Divi, Edumodo, and Invent.
If you are looking to develop a custom theme that meets all your requirements and is perfect for your site, you should opt for our LearnDash development services.
It is crucial to choose a theme that best suits your needs.
You could go with the Astra theme as a beginner. This theme is fast and flexible and offers a free version.
You get access to pre-made templates and can use add-ons such as WooCommerce, and Course Grid. What’s best is this theme’s customizability.
To know more about the LearnDash themes, you should check out our blog on the 10 Best LearnDash Themes.
Step 3- Configure your LearnDash
We got our LearnDash and we got our theme. But what about configuring LearnDash?
Let’s continue. Go to your WordPress dashboard. LearnDash LMS -> Settings
Here you will see different page headings- General, Registration, Payments, Emails, Translation, LMS License, Support, and Advanced.
Let me quickly glance through their settings.
General– As the name suggests, you get to configure the general settings such as Design and color elements, Global pagination settings, and Admin user settings.
Registration– Gives you access to registration fields and login pages.
Payments– Here you can choose the type of payment gateway you want to set up.
Emails– You can send email notifications to students regarding course purchase success, Group purchase success, and Purchase Invoices.
Translations– In translations you can choose the language of your Learndash site.
LMS License – Once you purchase LearnDash, they provide you with the License key. Enter it here to activate LearnDash. And if you upgrade your plan, you can do the same.
Support– You get all the data logs and all software versions currently running and past run software from here.
Advanced– Here you can Bulk edit, Import/Export, AI integrations, and more.
After you have configured all these settings, click SAVE, and you are done with this step.
If you are finding the installation confusing, you should definitely seek assistance from a professional LearnDash developer to do it for you.
Step 4- Course Creation
LearnDash makes it easy to create courses with its course builder. It’s simple and drag-and-drop.
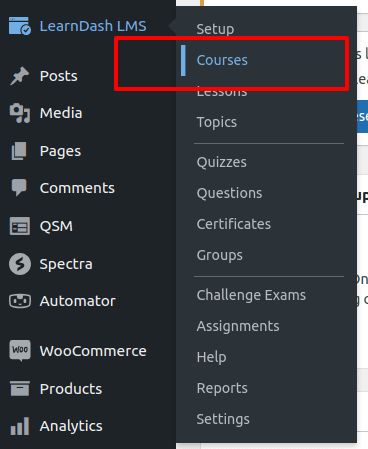
To begin with, go to your WordPress dashboard -> LearnDash LMS -> Courses
Now click on Add New. You will see a course heading and a text box.
Fill in all the details of your course and click save as draft. You can now preview how your course looks on the actual site. If it is proper, click publish.
You can set your course pricing from the options- free, one-time payment, or subscriptions.
Similarly, you can create your own lessons, topics, and quizzes.
Again you can see the preview, and then publish it live.
Now I will show you how to set up a Course with Lessons and Topics in them.
Step 4.1- Setup a Course
First, go to LearnDash LMS -> Courses -> Add New.
Now, enter the name of the course you want to create. You could enter a short description of the course. Then click on Save as Draft.
For the purpose of this blog, we will go with the ‘Grammar’ course.
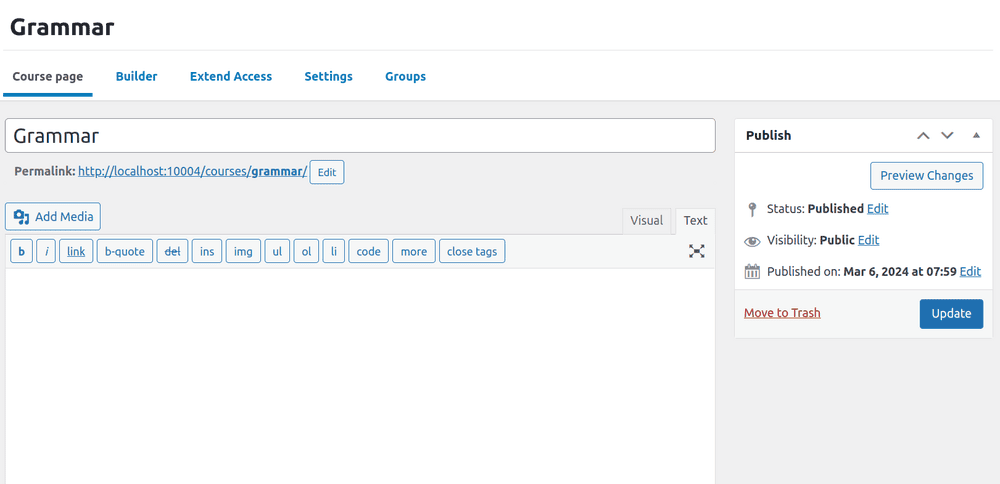
This course which was saved as a draft can be seen in the Course section.
Now onto setting up a lesson for this course.
Step 4.2- Setup a Lesson
We will now create a Lesson for the Grammar Course that we had created.
Got to LearnDash LMS -> Lessons -> Add New.
Let’s take ‘Nouns’ as a Lesson for Grammar.
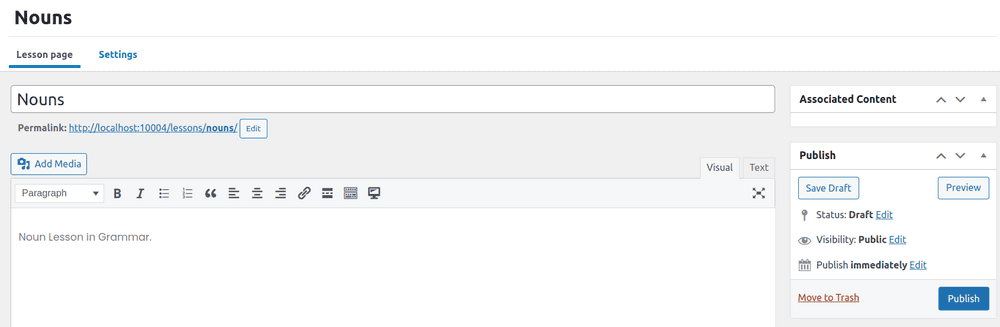
Now, you can save this lesson as a draft.
Similarly, you can create an extra lesson named- ‘Verbs’ and save it as a draft.
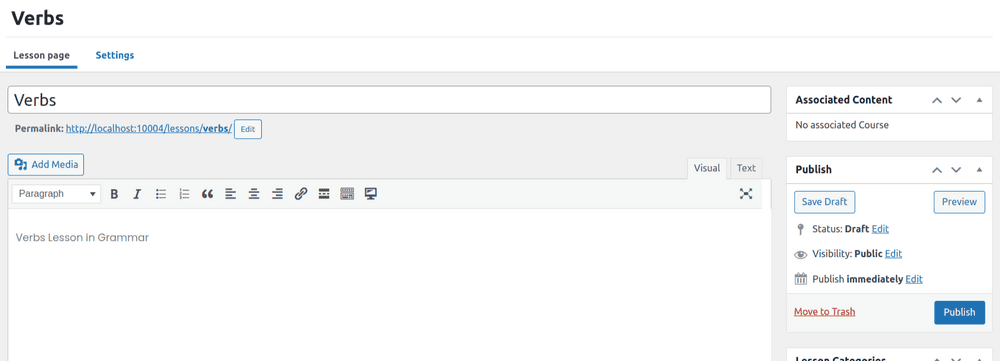
We are saving it as a draft because we are then going to create a topic for these lessons.
Moving onto setting up Topics.
Step 4.3- Setup a Topic
Again, go to LearnDash LMS -> Topics -> Add New.
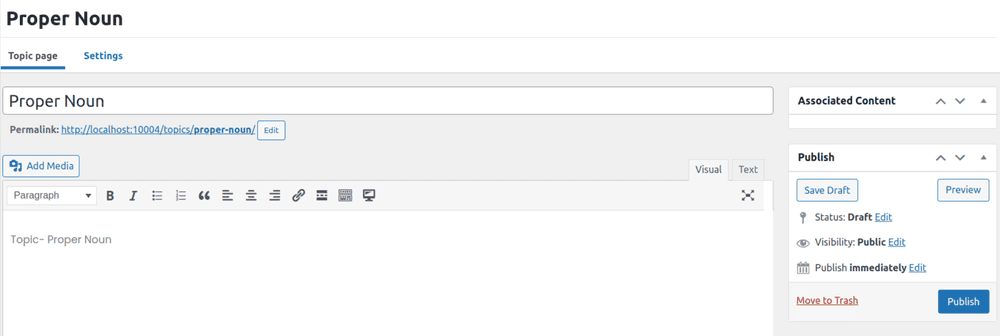
We will now name our 1st topic as Proper Noun for the Nouns lesson.
Again, save it as a draft.
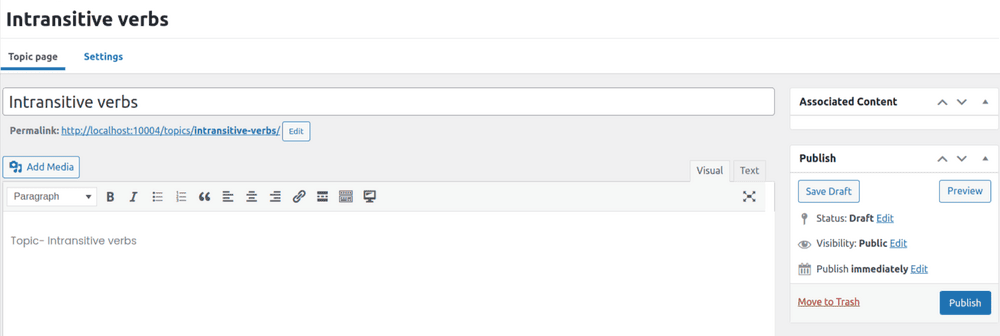
Similarly, create a topic named- Intransitive Verbs for the Verbs lesson.
Now we will move on to linking all these lessons and topics to your course.
Go to LearnDash LMS -> Courses -> Edit -> Builder.
This is a drag-and-drop build that I had talked about much earlier.
The reason this is a drag-and-drop is you can either click the search Lesson and enter it, or you can just drag the particular lesson from the Lessons meta-box on the right.
Similarly, you can do for topics and quizzes as well.

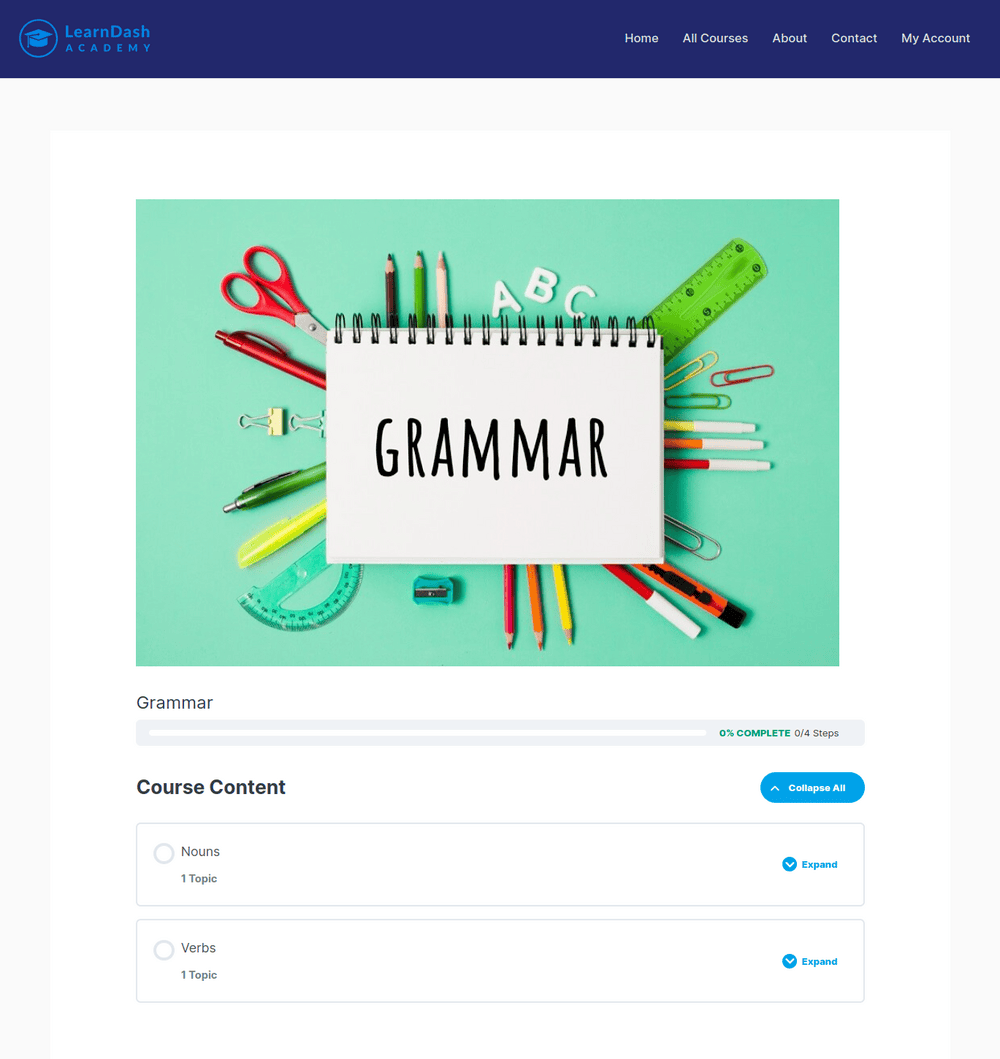
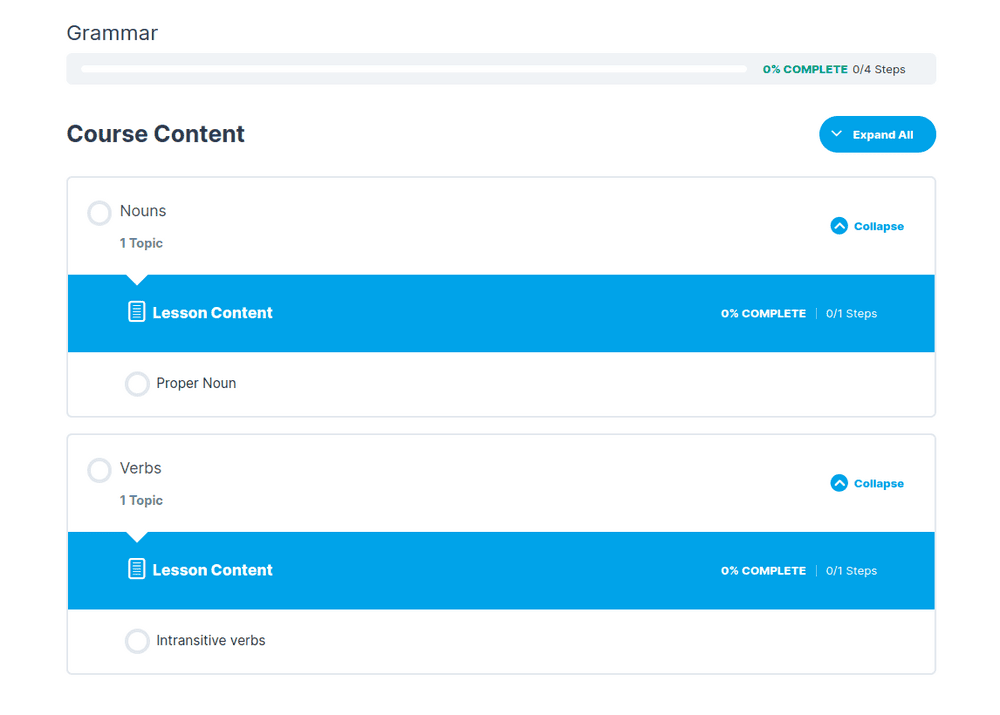
This is what it should look like after adding lessons and topics.

After this step, you can click on publish your course and visit your LearnDash website.
Well, this is basically how it should look.
Looking to create a custom LearnDash site from scratch?
Contact us Immediately!Step 6- Payment Options
Moving onto the last step, setting up a payment gateway for your courses.
On your dashboard go to LearnDash LMS -> Settings.
Now, click on the Payments tab, then click on Stripe Connect.
You then need to configure Stripe. Enter your credentials and other info.
You can select the currency and tax rates and also enable test mode.
Again here you can set up course pricing, like you did in Step 6.
However, most of the LearnDash experts make use of WooCommerce for payment purposes.
WooCommerce offers a wide range of Payment gateways while default LearnDash only offers 3.
To know more about how to connect WooCommerce to your LearnDash site, check out this simple guide- Sell courses on LearnDash using WooCommerce.
You can choose to enable the Coupons tab to accept coupons to purchase your courses.
Similarly, you can do it for Affiliate programs by clicking on the Affiliate tab.
Again, if you want to use any other payment gateway, you can do so. The process remains the same.
Once done, click on SAVE and you are done with your Payment settings.
Step 5- Set up Course Access
In this step you will be assigning who gets access to your courses, the access durations, and in what way they get access to content.
Go to LearnDash LMS -> Courses.
Assuming you have created a course referring to Step 5, click on ‘Edit‘ on that course.
You’ll see a Settings tab below the course title, click it.
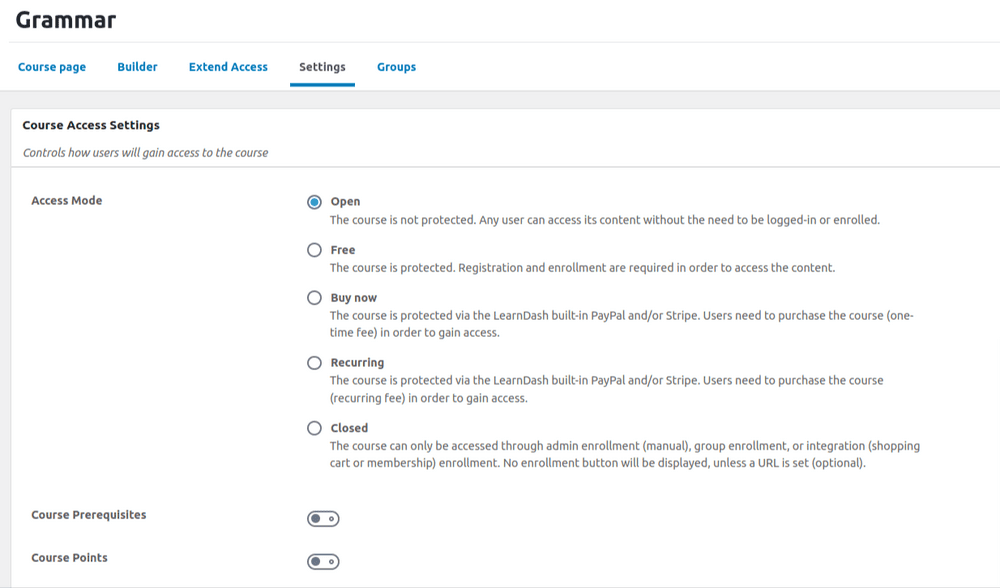
Now this page will grant you complete user access to the course.
In the ‘Course access Settings’ you can set your course access mode- Open, Free, Paid, etc.
You can set your course certificates, and Drip content as well.
After you are done with all the settings, you can click SAVE.
Wrapping Up!
From this blog, we understood how to install LearnDash in WordPress. We covered steps from setting up your courses and configuring the payment gateway.
With these simple 6 steps, you can easily set up your LearnDash on WordPress.
I hope you followed through all the steps. And if you have any queries, just comment below or contact us.