Integrating LearnDash with WooCommerce Memberships can make your online learning site a great source of income. This link-up lets you give members special access to content and classes, making your memberships more valuable and giving learners a more tailored experience. By leveraging a WooCommerce development agency, you can ensure a seamless integration that enhances the functionality of your site. You can do it in just a few simple steps, using WooCommerce to handle membership fees and LearnDash to provide excellent educational material.
This setup is perfect if you want to make a members-only area for courses or combine products with memberships for discounts. It’s user-friendly, so even if you’re not tech-savvy, you can get it going fast. By doing this, you can create different membership options with unique courses and benefits, which will attract more people to join and enjoy your offerings. Additionally, utilizing WooCommerce development services can help you customize your membership plans to meet the specific needs of your audience. Let’s begin!
Step 1- Install WooCommerce Memberships
The first step is to install the WooCommerce Memberships plugin. You can do this by visiting the official Woocommerce Website and downloading the plugin.
Once you download the plugin, you can install it by going to Plugins->Add New->Upload plugin-> Choose file; and select the zip folder and click install.
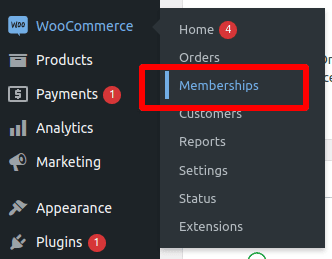
A ‘Memberships’ option will be added to the Woocommerce in your WordPress Dashboard.
Step 2- Setting up categories
In this step, you need to create a category for your Membership which we will use to connect the LearnDash course.
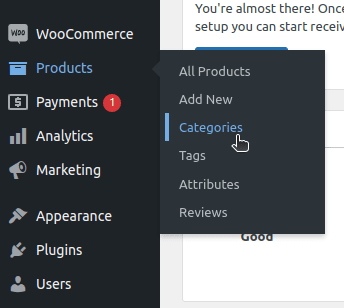
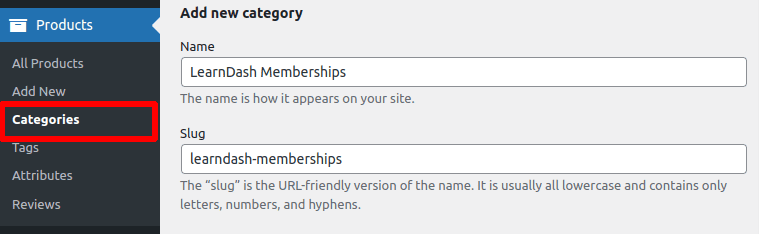
On your WordPress dashboard click on Products->Categories and add new category. You can name the membership as you like. We have named it ‘Learndash Memberships’.
Related Blogs from SaffireTech
Step 3- Creating a new product
Now, its time to create a new product which will be the main entity membership. For example- Prime Membership, which will be the parent membership and this Membership will later contain sub membership levels like silver, gold membership.
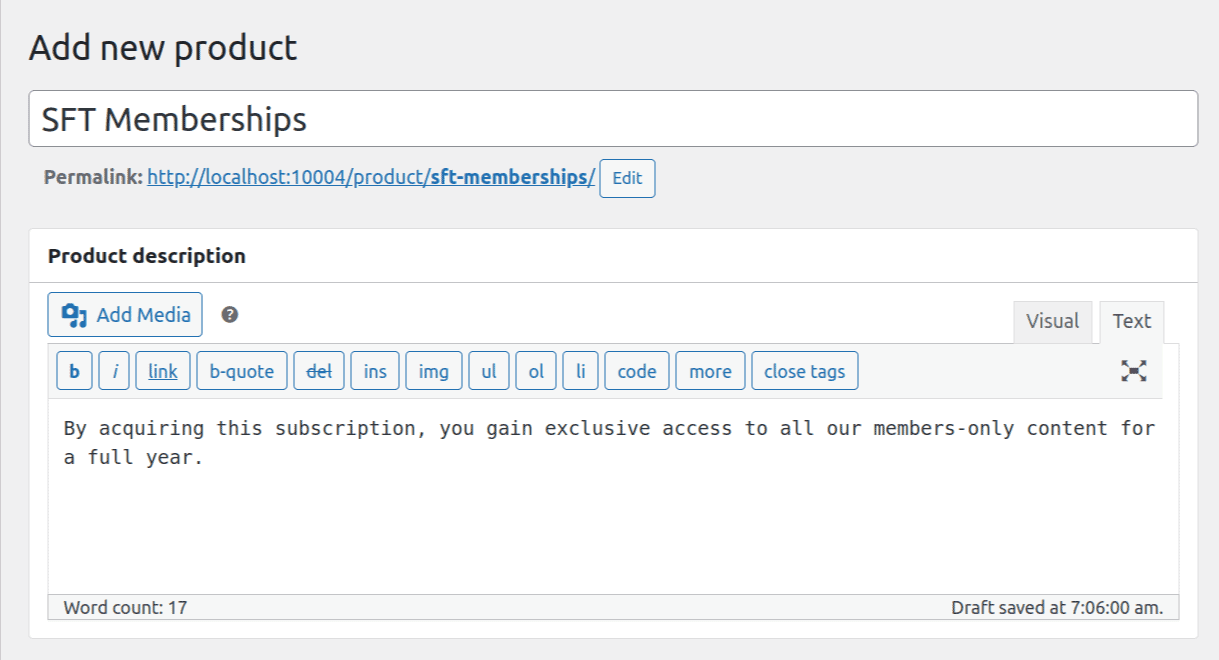
Go to Products->Add New, enter the product name which will be the name of the parent membership. You can also give a product description which will describe the purpose of the membership.
Step 4- Connect LearnDash Course
In this step we will be connecting the LearnDash course with the primary membership and also create the sub membership levels.
Once you create a new product and enter the product description, below you will find the meta box- ‘Product data’. You will need the WooCommerce Integration plugin to enable the input box for the courses. The plugin is available free of cost.
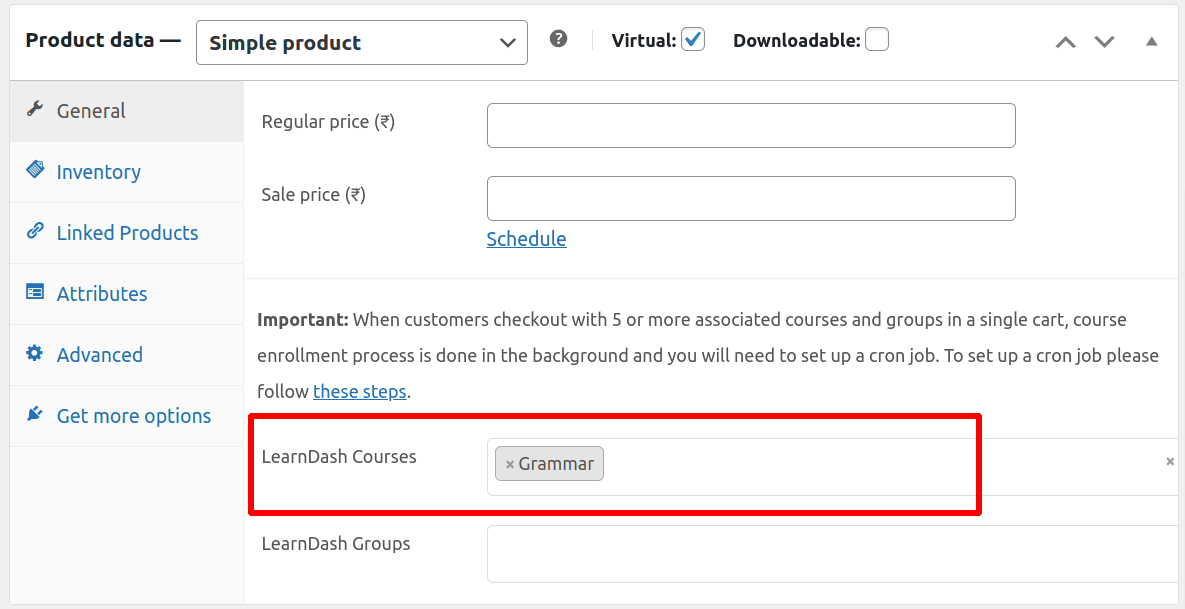
In case you haven’t created any course, you can go to LearnDash LMS->Courses, create a new course, and publish it.
Once you do this, in the input field of LearnDash Courses you’ll find the course that you had created.
Step 5- Membership Variations
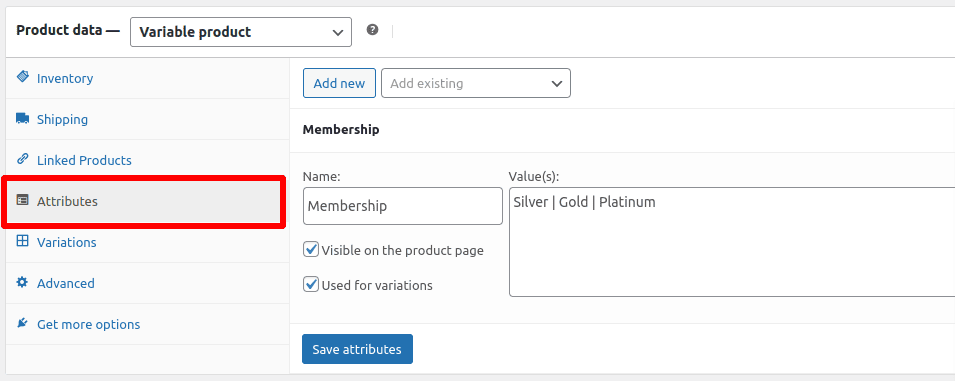
In the Product data metabox, go to attributes to create your Membership levels. Click on Add New; the name section will be the postfix of your membership name and the value section will contain the prefix name of the membership. You can then click on Variations and add the prices of each sub-membership.
You can enter any name you want for your membership. For this blog, we will name them- Silver membership, Gold membership, and Platinum membership. Once you do this, save the attributes and click on publish.
Looking to customize your WooCommerce website?
Get in touch now!Step 6- Setting up the Membership plans
In this step, we will set up the membership duration for each sub-membership.
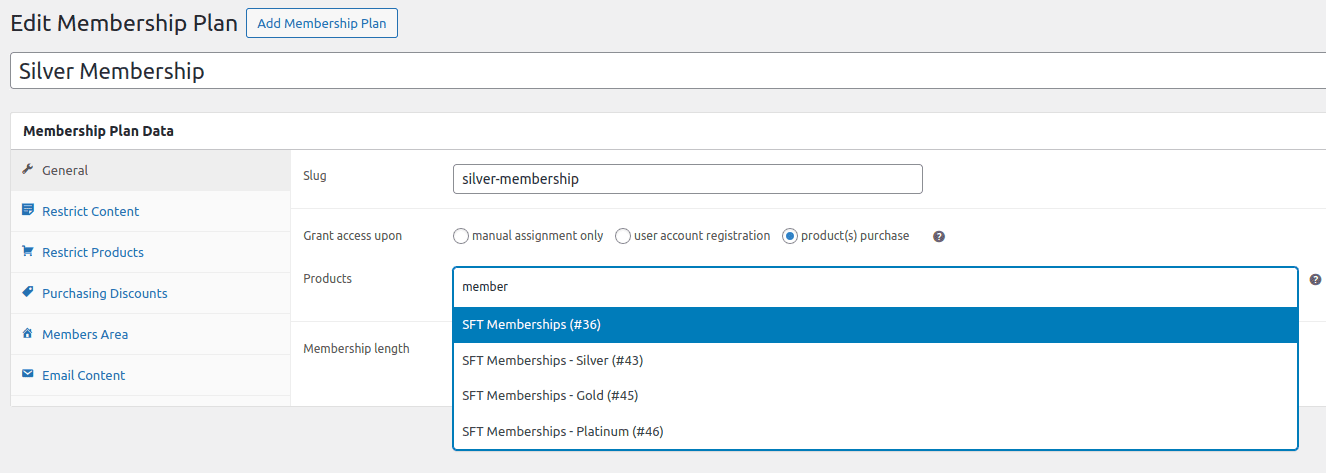
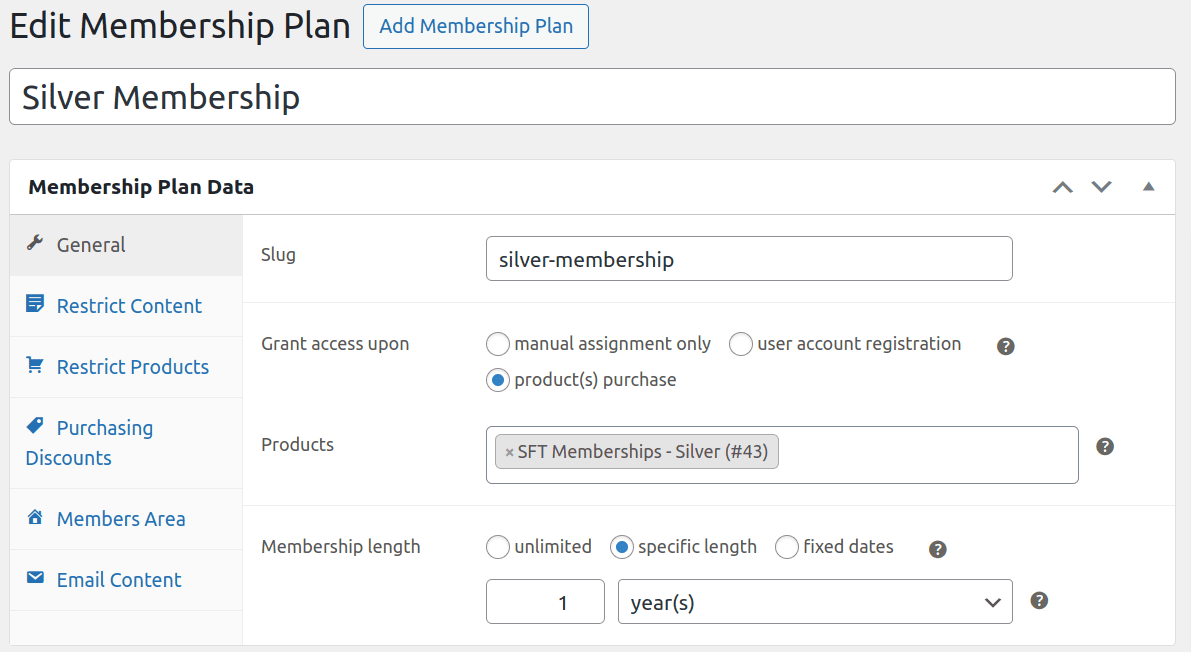
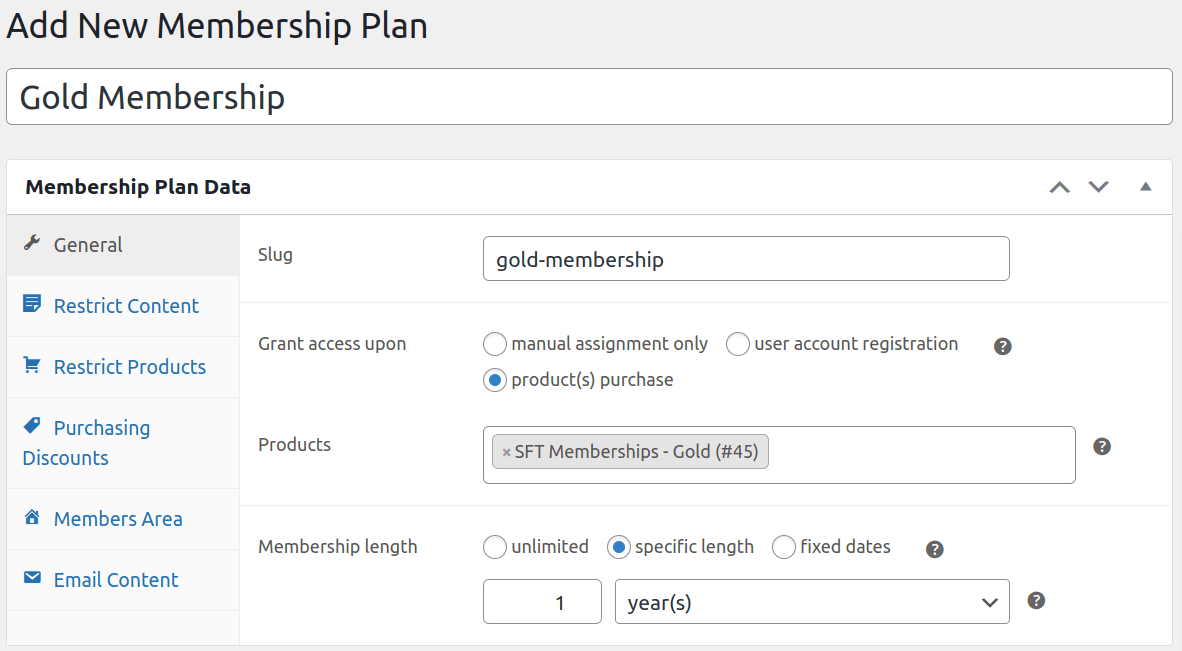
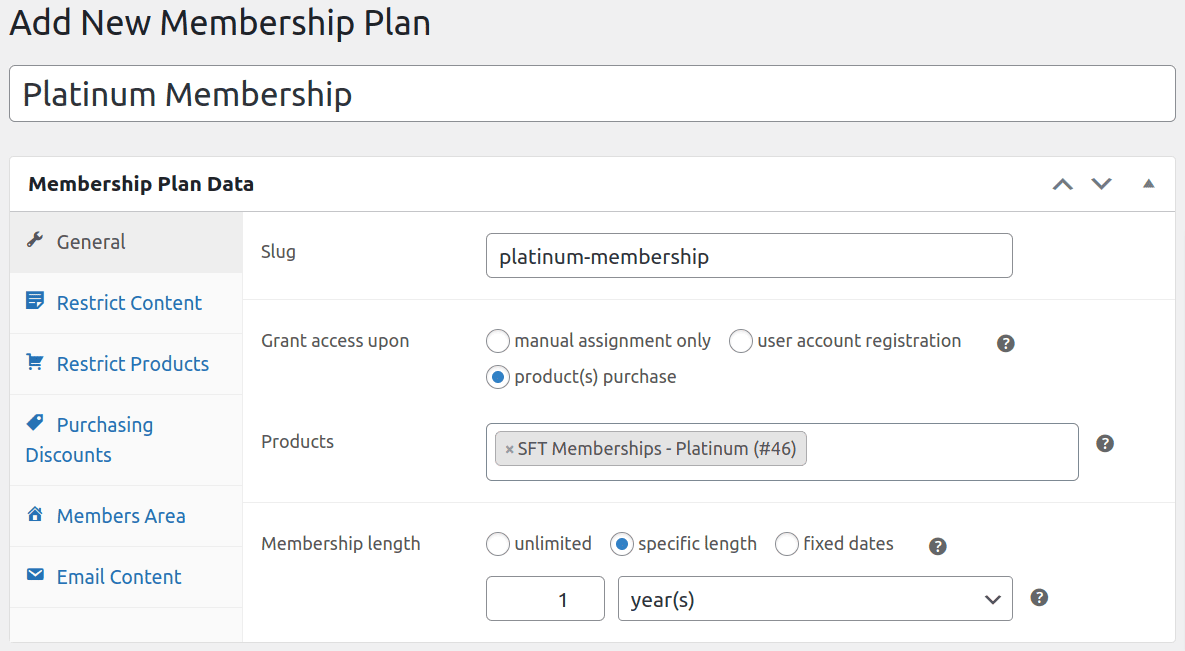
Go to WooCommerce->Memberships->Membership Plans. Enter the name of the sub-membership. Here we have entered- ‘Silver Membership’. You can add the slug to it and in the products section, search for the name of the sub-membership you created in Step 5.
In the Membership length, you can enter the expiration time of your membership. Once done, click on publish.
After this, in the same meta box go to ‘Restrict Content’, set the type to Courses, and in the title add the LearnDash Course, and update the page. This will set the restriction to your LearnDash course.
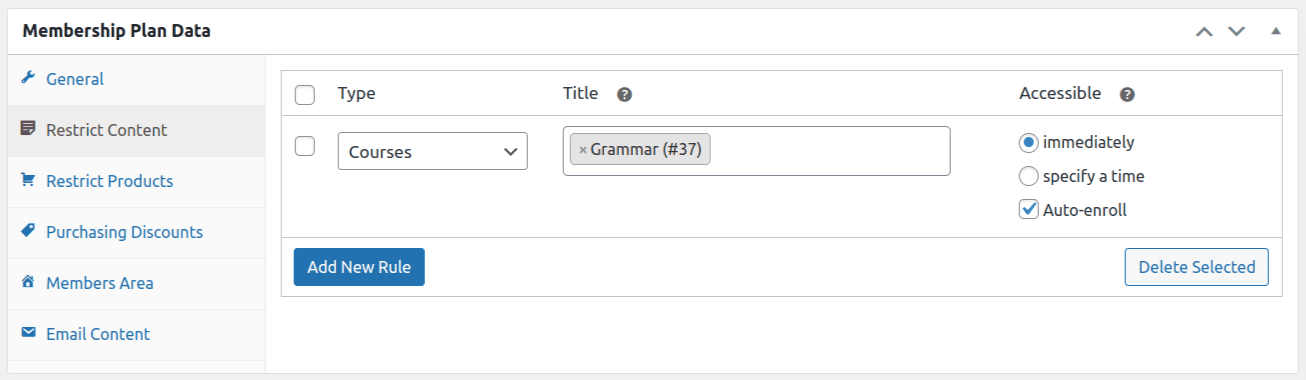
Similarly, you have to repeat the process for other membership levels that you have created.
Step 7- Time to Go Live!
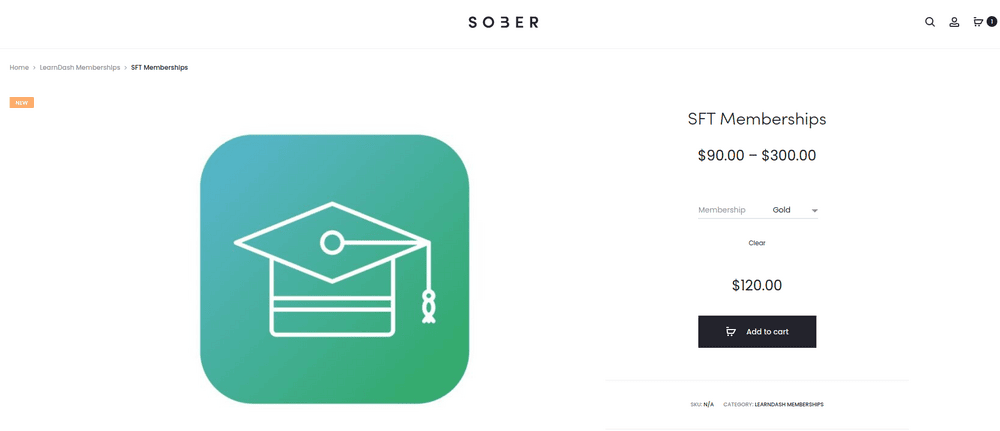
This is the last step where you’ll go to your product page and check out how memberships work!
Go to your WooCommerce page and search for the membership product that we had connected our LearnDash course with (SFT Memberships). On the product page, you’ll see the option to choose which membership level you want to purchase.
Once you add the product to your cart, move on to the cart page. The below image shows how the purchased membership looks.
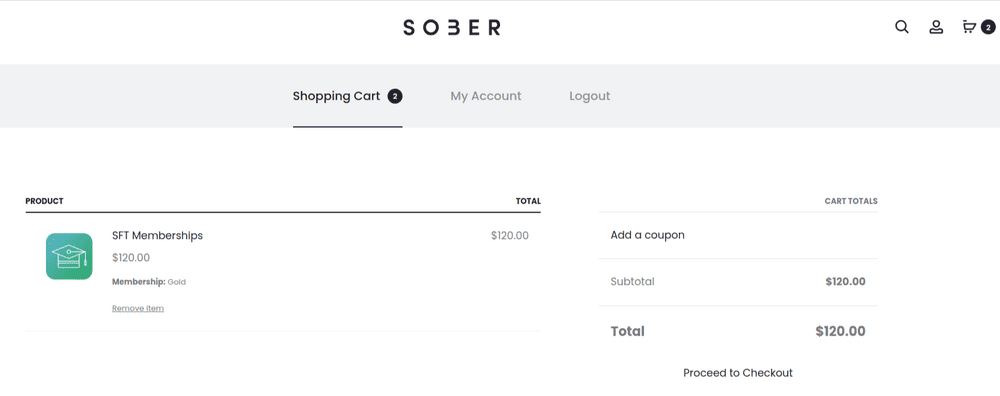
If you want to customize the product and cart page you can reach out to a professional WooCommerce website developer.
Conclusion:
When LearnDash and WooCommerce Memberships team up, they create an eLearning space that’s not only efficient but also welcoming. In this blog, we understood how to connect LearnDash with WooCommerce Memberships in a few simple steps. This integration simplifies the membership process, so educators can pour their energy into what really matters: inspiring learners with great content. Whether you’re an experienced educator or a newbie, LearnDash and WooCommerce Memberships offer a winning solution to success.